Making a simple API using AWS Lambda and API Gateway – PART 1
Serverless architecture gives us an easy way to stand up an API without having to worry about managing a server. Like most decision, the decision to use serverless comes with a host of pros and cons; experience is here, ultimately the best teacher.
Let’s make a simple API using AWS Lambda and API gateway services
If you haven’t yet, go sign up for a free AWS account. Many of the services have a free tier. You can run this example without any cost.
Let’s use the classic pet store API for an example. We will have the following GET endpoints:
/animals-for-adoption – gets a list of all animals that are available
/info/{animal-name} – gets the info for an animal by the animals given name
Lambda’s are event driven functions that run on Amazon’s infrastructure. They look like any other function in JavaScript. Let’s make a simple Lambda function that returns a list of available pets.
In your aws account, go to Lambda, then create function. Then select “Author From Scratch”. Enter a name for the function, I used getPetsList. Set NodeJS for the run time and click CREATE FUNCTION.
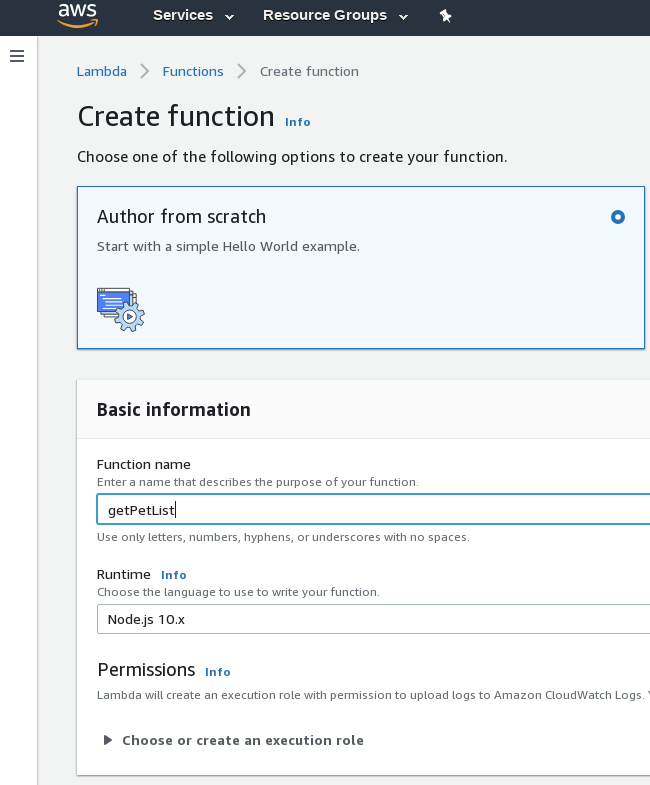
In a few seconds you should see the Lambda panel for your new function. AWS has provided an IDE so you can edit your function online.
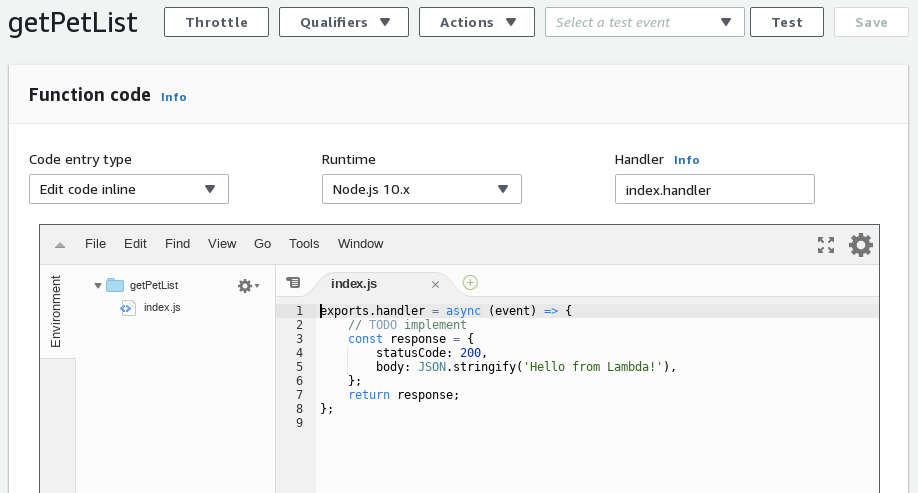
The Lambda is prepopulated with minimum boilerplate code. Here we can see that this file is actually a Node.js Module and it is “exporting” a function named handler. The handler function returns the response object.
exports.handler = async (event) => {
  // TODO implement
  const response = {
    statusCode: 200,
    body: JSON.stringify('Hello from Lambda!'),
  };
  return response;
};
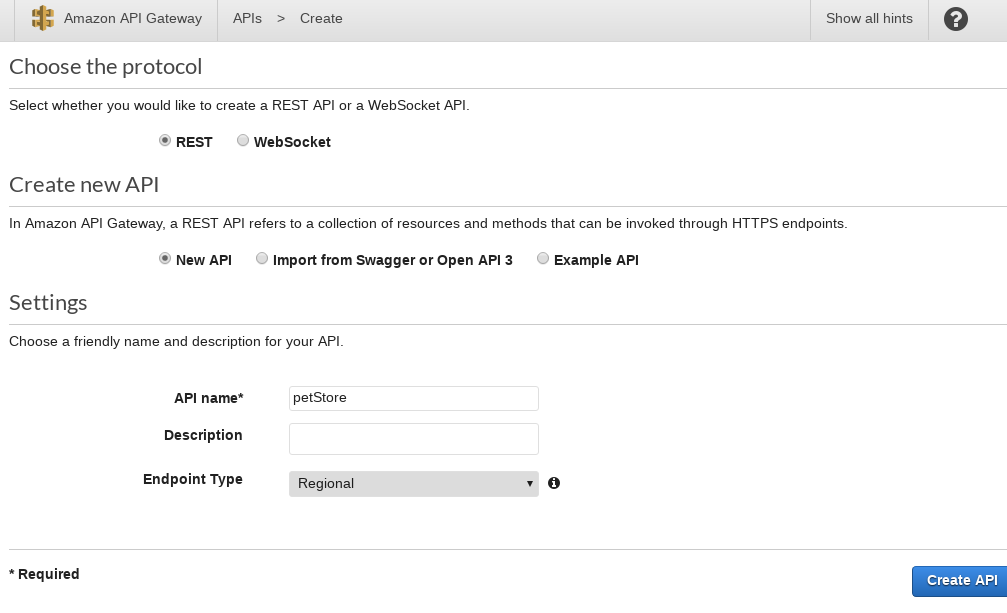
Let’s go to API gateway panel in AWS and hook this up. Click through till you get to the create API page. Select the following options: REST, New API, Regional and give your API a name. Should look something like:
After clicking the CREATE API, you will now have an API with no endpoints. That’s not very useful so let’s add our getPetList endpoint. Click the “ACTIONS” button and select “Create Resource” from the drop down list.
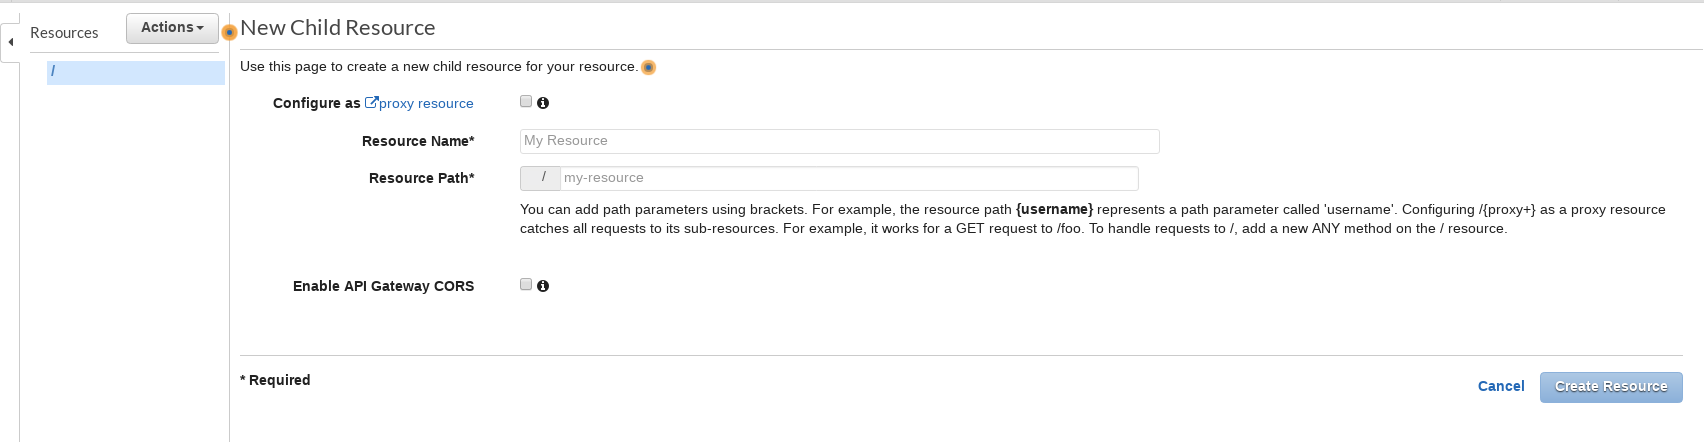
From here you can create a new resource (endpoint) for your API. Let’s create our endpoint “/animals-for-adoption”.
Enter “Get Pets” for the Resource name, and “animals-for-adoption” for Resource Path. Click “Create Resource” button and you should now see your path in the resources list. However we still need to add a method; we will add a GET method to /animals-for-adoption. With “animals-for-adoption” selected, click the Actions button again, then “Create Method” then select GET from the list.
After you click the check-box you should see something like:
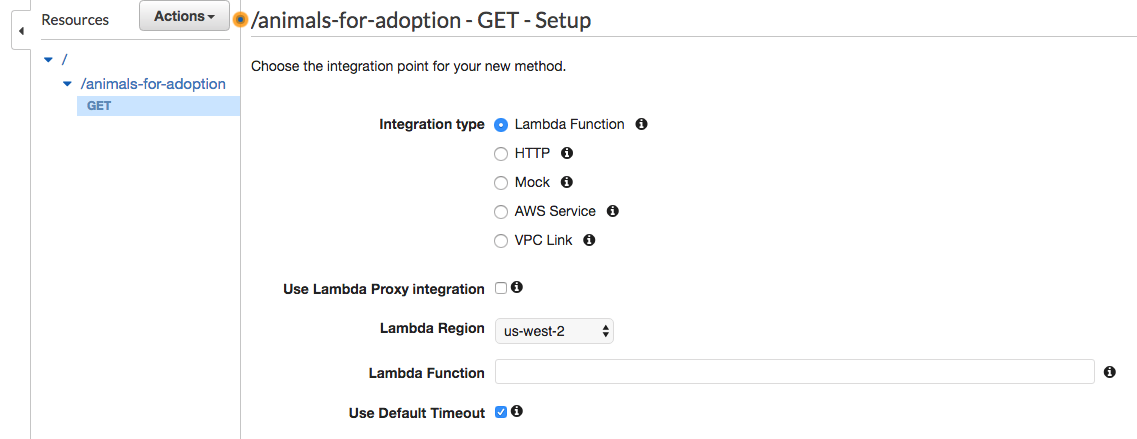
Since we are using a Lambda for our API backend, select Lambda and enter the name of the Lambda function in the input. Click save and then OK to set up the permissions automatically.
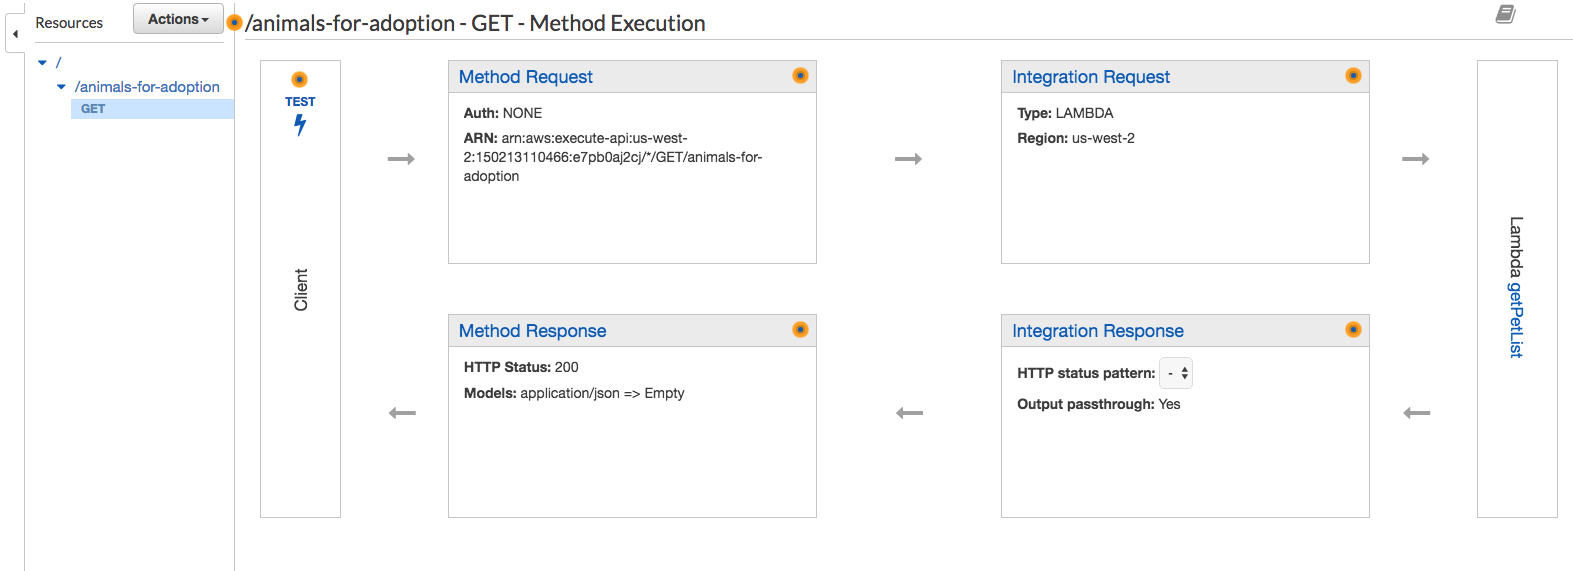
You should now see something like this:
Deployment is the last step. Once again click the “Actions” button. Look for the “Deploy API” option under applications. Clicking it produces a popup dialog:
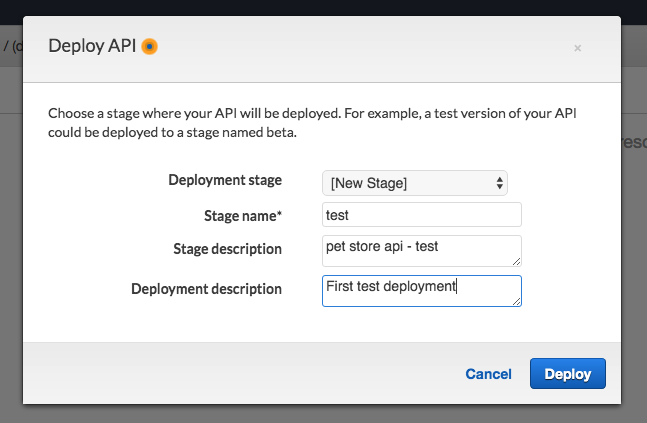
Fill it out like this and then click deploy.
After it deploys you should see an invoke url. In a browser, navigate to that url PLUS the endpoint /animals-for-adoption . You should get a response like:
{"statusCode":200,"body":"\"Hello from Lambda!\""}
You will need to update your lambda function to get the list of pets from the API, I will cover that in the next post.